Getting started
Authorization code flow
When you create an application, you will receive a
client_id for Authorization Code Flow, you
will also need to specify a Redirect Uri. This is the url that the user will
be redirected to after the flow.
By sending your customers through the Monerium Authorization flow, you can onboard them and get permission to access their data. They will signup or login to an existing account, attach a wallet and an IBAN to their account if they don't have one already.
Steps in onboarding a customer that doesn't have a Monerium account
-
Application generates a
code_verifierand acode_challenge - Customer is redirected to Monerium manage screen
- Customer signs up for a profile
- Customer goes through K.Y.C.
- Customer connects a wallet (can be automated).
- Customer attaches an IBAN to the wallet address
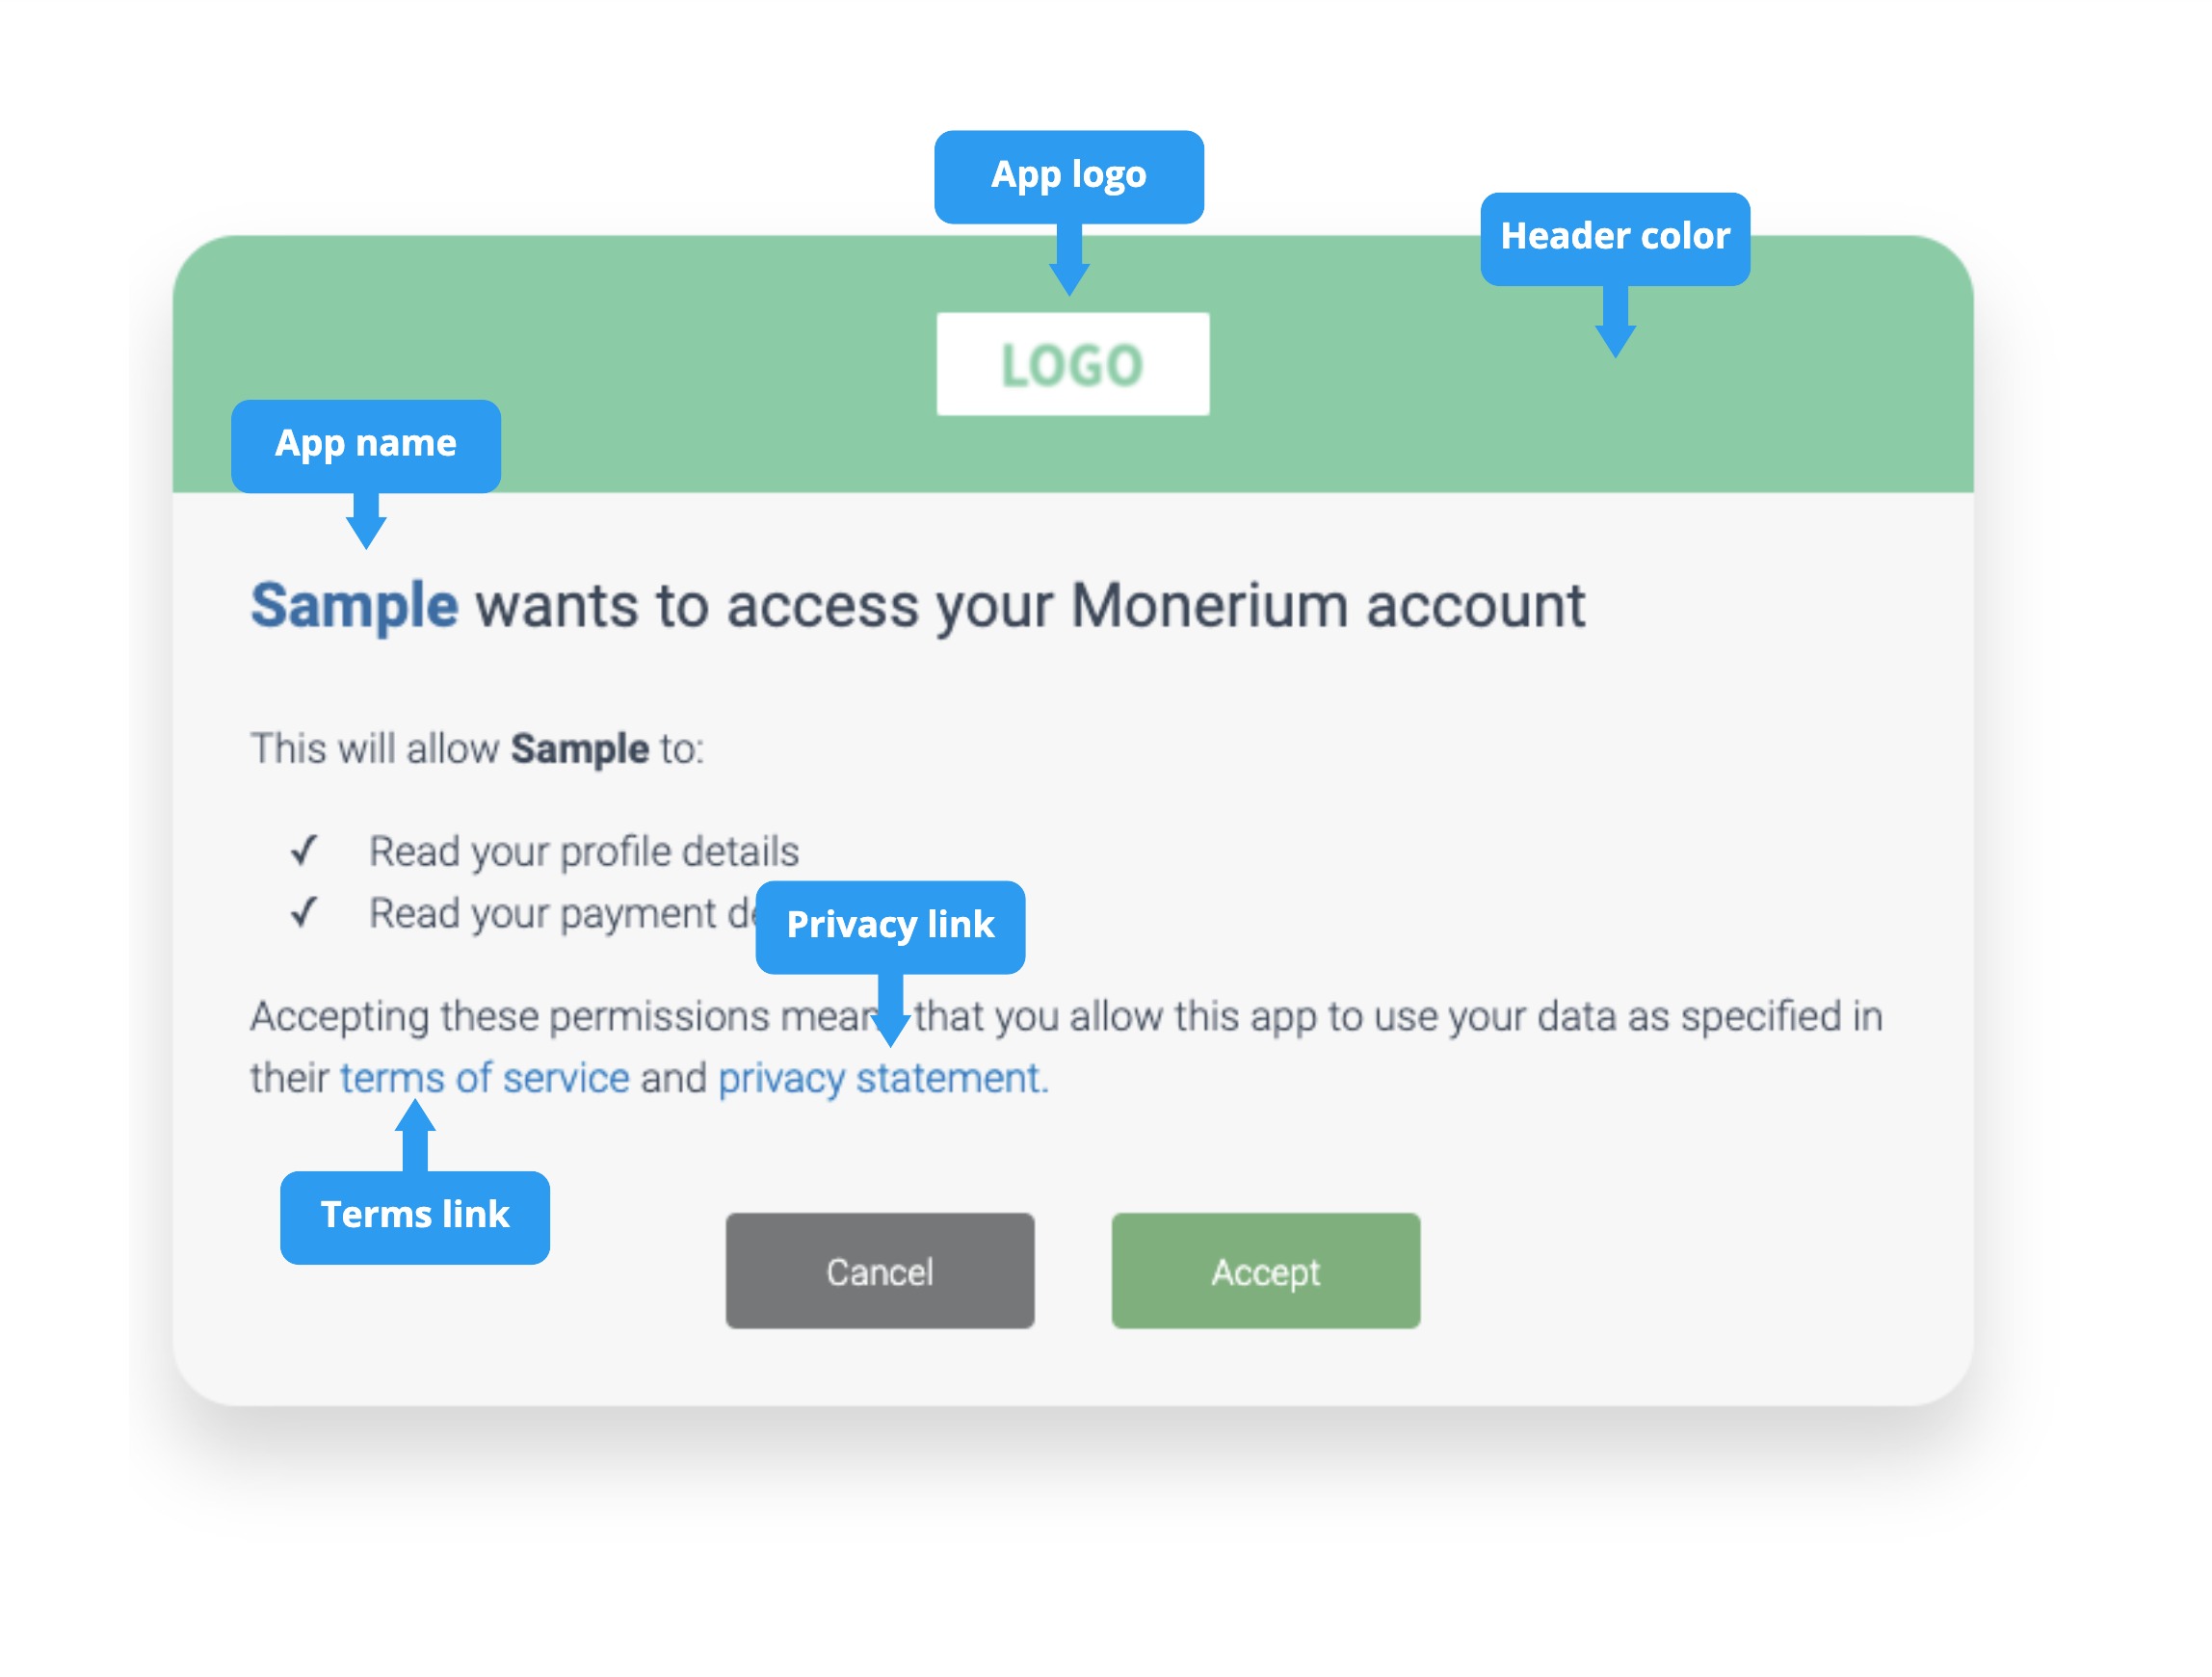
- Customer gives your application permission to read their data
-
Customer is redirected back to your application, with an Authorization
codein query params -
Application uses Authorization code to fetch an
access_token
In-depth Authorization flow documentation
Initiate the Authorization code flow.
To be able to initiate the Authorization flow, first the application needs
code_verifier which is a randomly generate, high entropy string
between 43 and 128 characters. Store it, you'll need it later to fetch the
access_token.
import CryptoJS from 'crypto-js';

const codeVerifier = CryptoJS.lib.WordArray.random(64).toString();code_verifier to generate a code_challenge
// code_challenge = base64urlEncode(SHA256(ASCII(code_verifier)))
const codeChallenge = CryptoJS.enc.Base64url.stringify(CryptoJS.SHA256(codeVerifier));const params = {
client_id: "your-client-uuid",
redirect_uri: "https://example.com/intergration/monerium",
code_challenge: codeChallenge,
code_challenge_method: "S256"
// automate the wallet connect step by adding the following optional parameters
address: "0x0000000000000000000000000000000000000000",
signature: "0xVALID_SIGNATURE_2c23962f5a2f189b777b6ecc19a395f446c86aaf3b5d1dc0ba919ddb34372f4c9f0c8686cfc2e8266b3e4d8d1bc7bc67c34a11f9dfe8e691b"
chain: "gnosis"
}
await fetch(`https://api.monerium.dev/auth?${new URLSearchParams(params).toString()}`)A successful response will be a temporary redirect to the Monerium manage screen.

When the customer has completed the last step of the Monerium manage screen,
they should now have a profile and an account connected to their wallet with
an IBAN attached to it. Your application now has permission to read their
data and they will be redirected back to your application with the
Authorization code in query parameters. Like so:
https://example.com/integration/monerium?code=1234567890abcdefg.
Now use the code to fetch an access_token
await fetch("https://api.monerium.dev/auth/token", {
  method: "POST",
  body: new URLSearchParams({
    client_id: params.client_id,
    code: "1234567890abcdefg",
    redirect_uri: params.redirect_uri,
    grant_type: "authorization_code",
    code_verifier: codeVerifier,
  }),
  headers: new Headers({
    "content-type": "application/x-www-form-urlencoded"
  })
}
A successful response will look like this:
{
    "access_token": "V_pcFg6ISgqS5Xak5wqu2A",
    "expires_in": 3600,
    "profile": "139e7d62-0afb-11ed-ac2f-4a76448b7b21",
    "refresh_token": "C5CA367rT-iYwviOuG1qdw",
    "token_type": "Bearer",
    "userId": "1447d261-0afb-11ed-ac2f-4a76448b7b21"
}
Your application can now use this access_token to fetch the
profile for this user and
place orders.
GET /auth
POST /auth/token
Summary
-
You on-boarded a customer and claimed an
access_tokenusing the Authorization code flow (PKCE)